2. Creating the dial
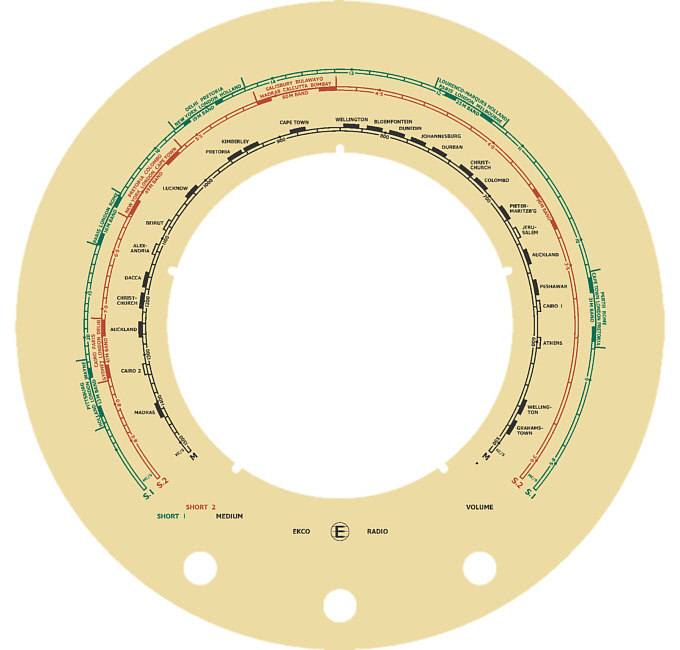
The dials are such a prominent and attractive feature of the A22 models that without being able to produce a satisfactory reproduction, proceeding with the rest of the project was somewhat pointless. After extensive searches of the internet, I eventually found several images of the A22T suitable to work from.
An auction listing showing a complete image of an original A22T, along with the others accompanying it showing magnified sections of the dial, proved most useful. I was able to combine the segmented images into a collage of an almost complete dial face, good enough to obtain the detail I required to begin attempting a reproduction artwork.
With reference to my article in the Reproduction Dials section, I set about producing an authentic A22T dial for this set using exactly the same techniques and methods I outlined there. The only difference being the extraction of the information detail that is required from just a set of images, rather than from a scan of an original.
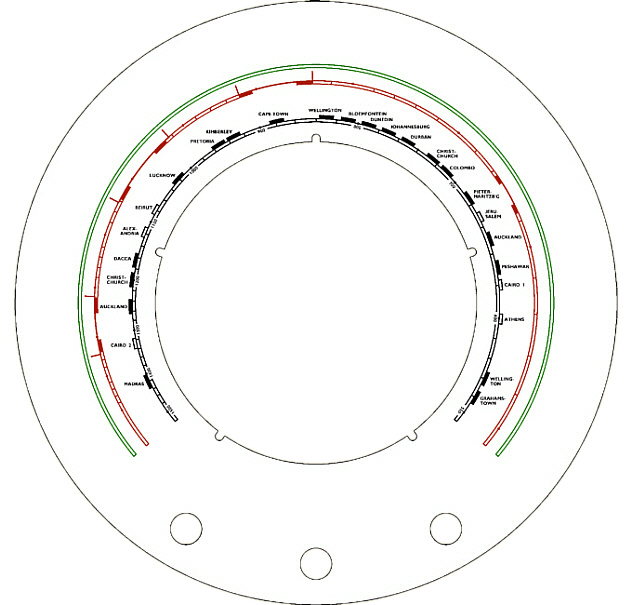
The reproduction dial artwork is basically created in a series of steps, with each of the main steps broken down further into several sub-steps. Essentially adding layers of detail, a little at a time, until the final artwork is eventually produced.
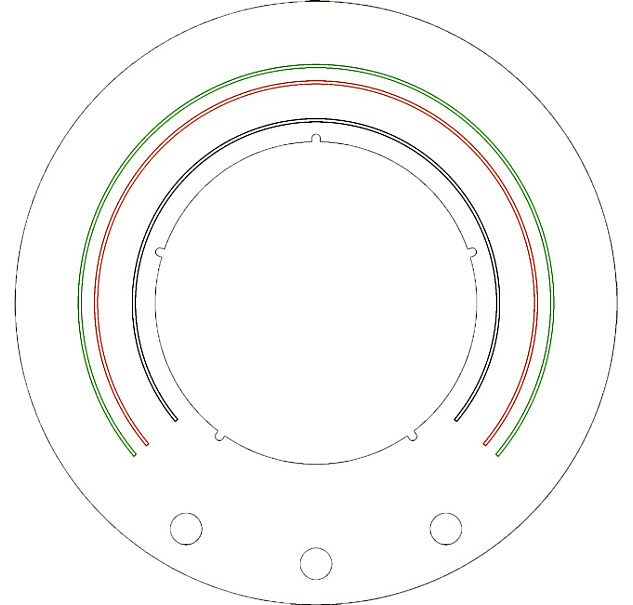
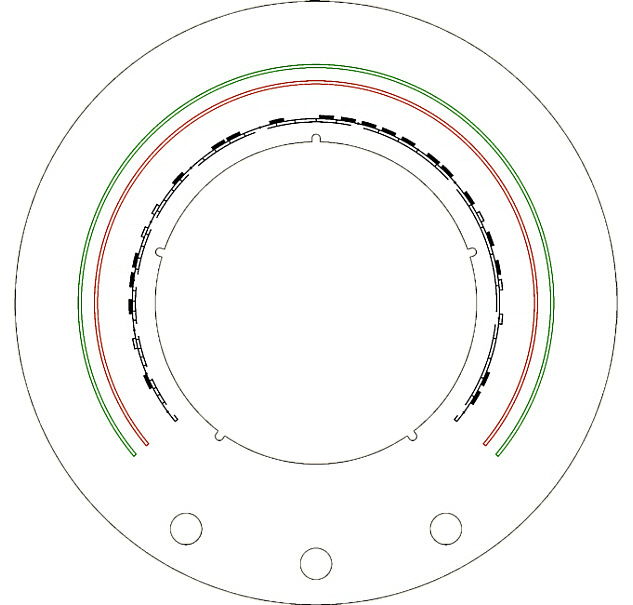
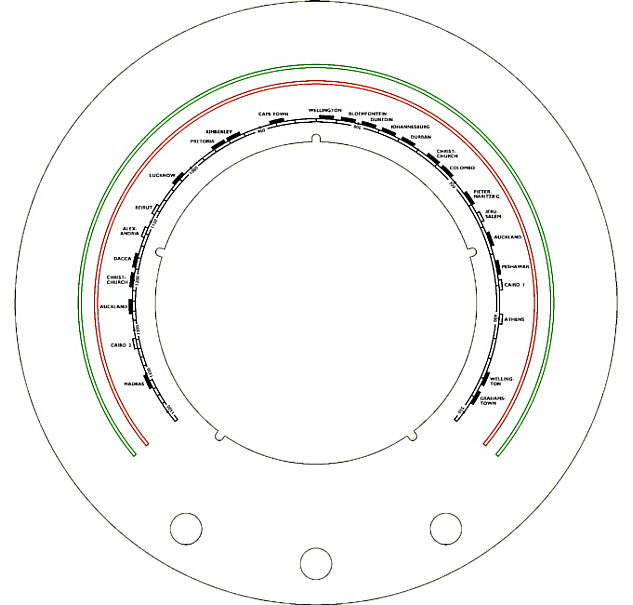

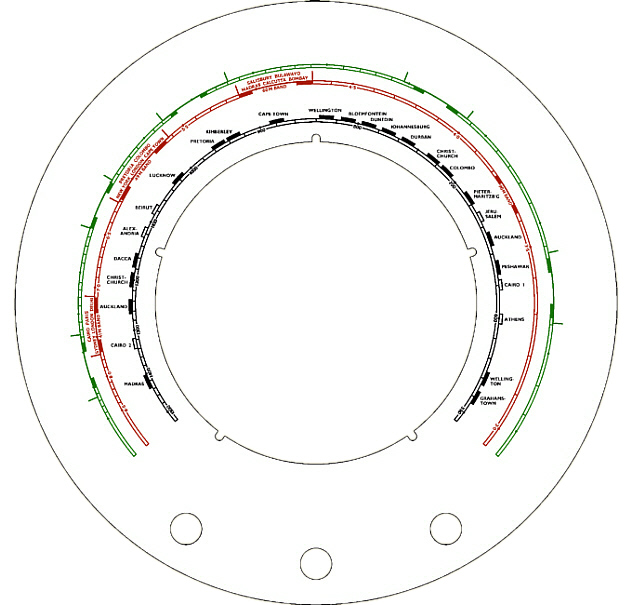
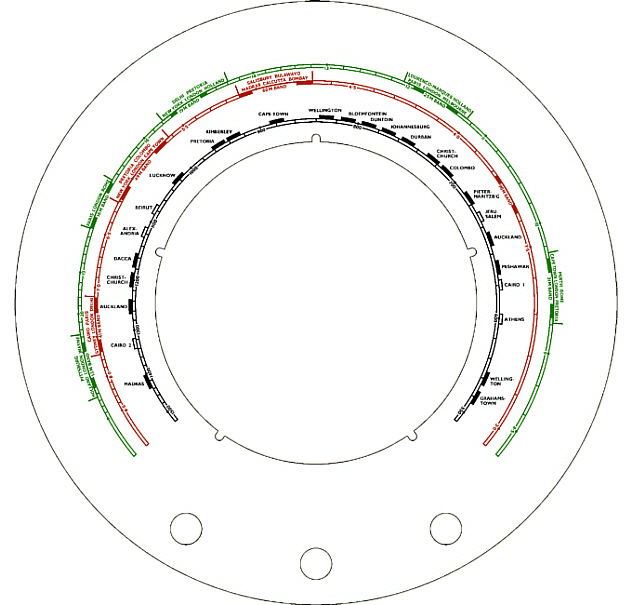

Despite only having a limited number of A22T dial images to work with I could still place the dial legends and details fairly accurately. This was achieved by loading the dial face collage into my graphics software and noting the X,Y co-ordinates of all the major detail; frequency markers, station name positions, and so on.
I assign an arbitrary colour for each waveband legend, in this case black for MW, red for S2 and green for S1. The exact shades are not important at this stage, when the artwork is complete the colours can be varied independently of each other to achieve a colour match that approximates the appearance of an original dial.