6. Restoring the chassis
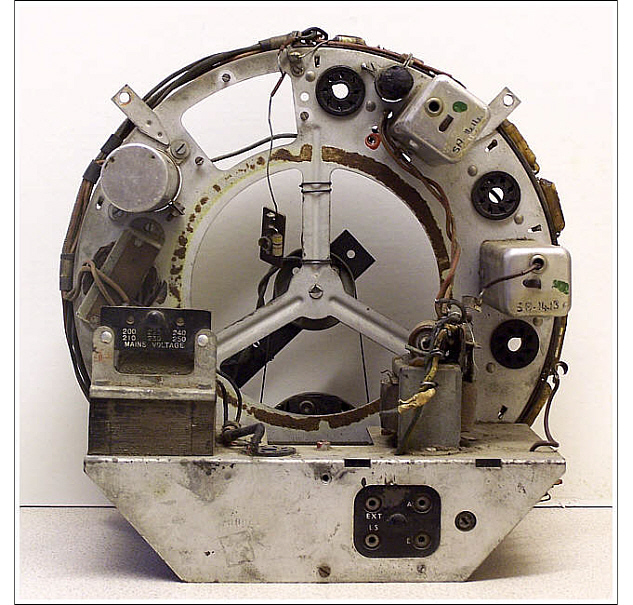
As stated earlier, the A22 chassis which forms the basis of this project was acquired semi-complete. Most notably it was minus a dial, loudspeaker and a set of valves.
However, I was fortunate that the metal trivet that mounts the dial and speaker cloth was still present. Less so with the bronze speaker ring that covers its circumference, which was absent.
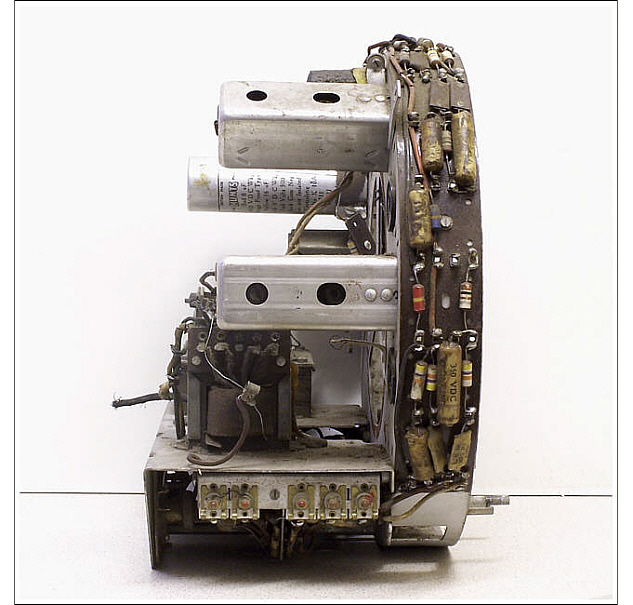
Generally the chassis was dirty and the wiring had obviously seen better days, but was otherwise complete. It even had a chunk of its original broken bakelite case still attached!

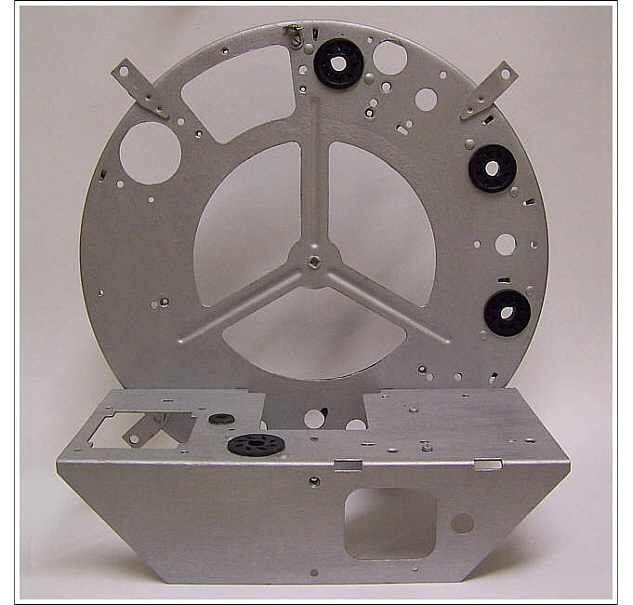
I adopted the same approach that I followed in my Ekco A22 Rebuild article, which was to completely strip the chassis and undertake a full restoration.
All the important wiring connections were first labeled and marked for each of the major components before they were removed.
Working steadily and methodically in this way, I quickly had the chassis completely stripped whilst being certain of exactly how everything was originally connected.
I could now begin the task of cleaning and painting the two major sections of the chassis. After a thorough clean and the removal of any flaking original paint, each part received a coat of silver or black smoothrite paint, as appropriate.

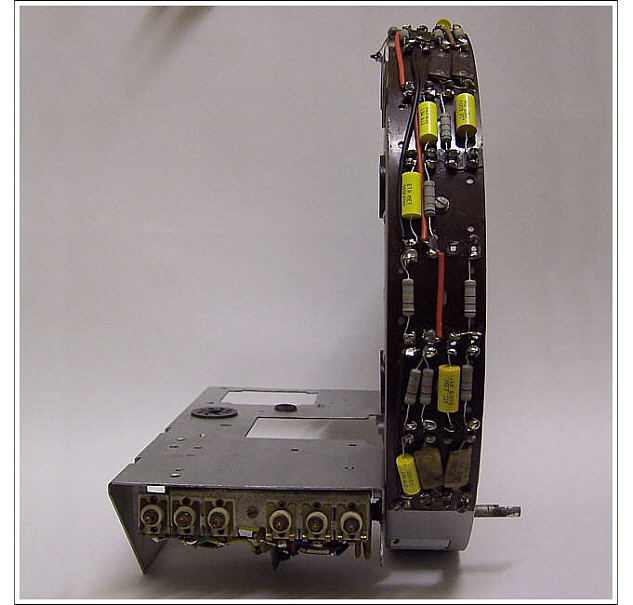
I also began the replacement of all the resistors and the wax type capacitors used on the tag-board that attaches around the edge of the circular chassis - renewing with modern 2W carbon resistors because of their similar dimensions to the originals, and yellow 630V rated polypropylene capacitors.

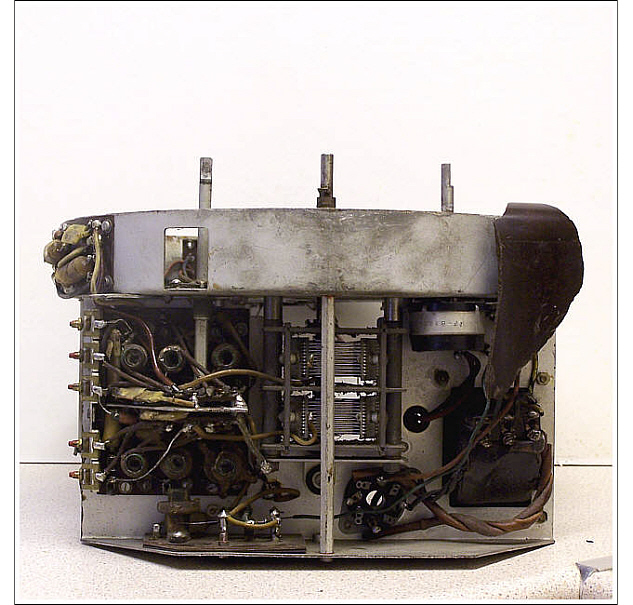
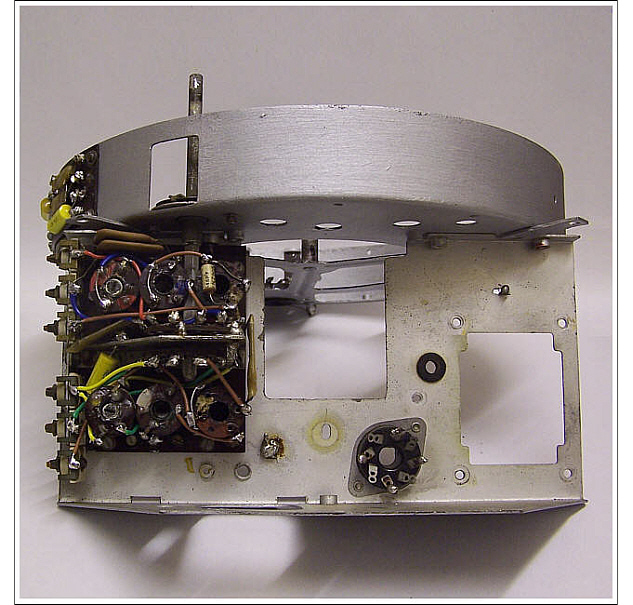
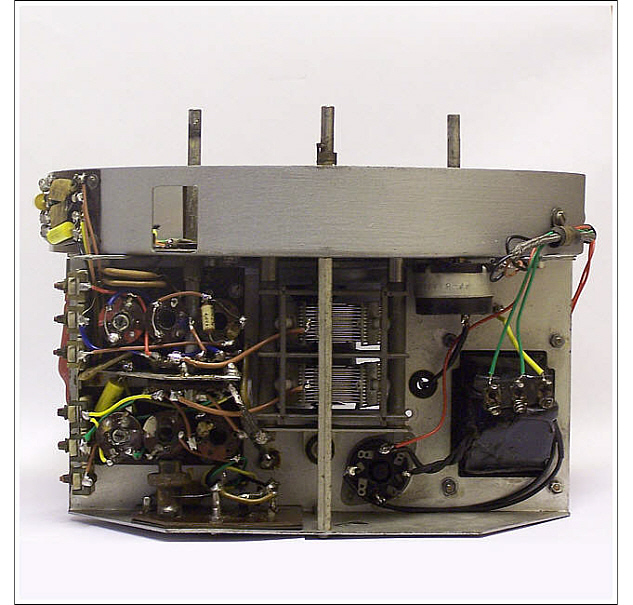
An unforeseen problem was encountered when I attached the rebuilt coil-pack board and tried to insert the band-switching spindle. I found that the medium wave oscillator coil was fouling the clean rotation of the spindle.
After a number of attempts at repositioning the coil and wiring, I eventually solved the problem by the inclusion of several small washers under the two mounting bolts that secure it. The washers raised the height of the coil a few millimetres which proved just enough to clear the spindle.
Continuing, I renewed all the wiring between the major components mounted on the circular chassis and the tag-board and then fully rebuilt the chassis.
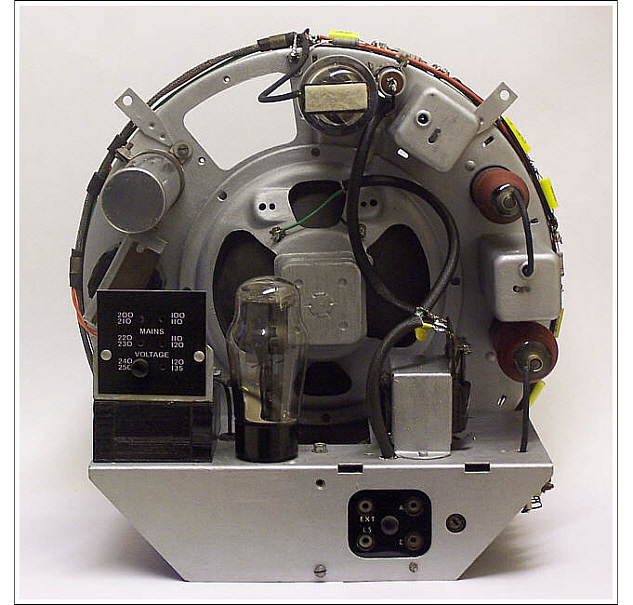
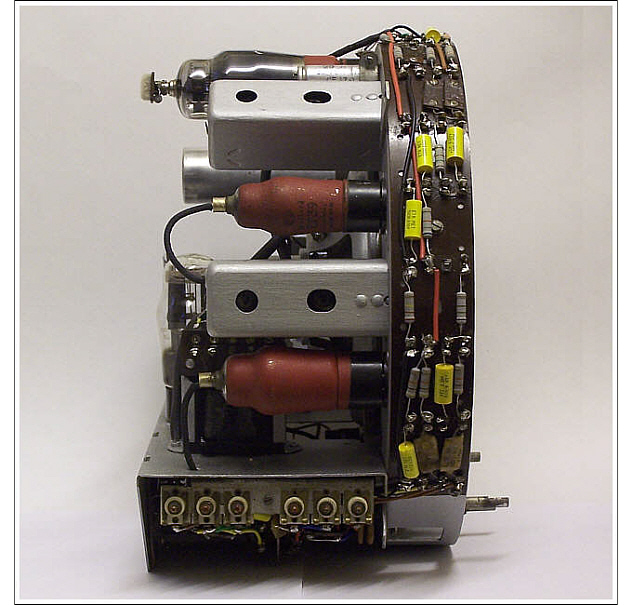
Fortunately, the original screening braid which carries the wiring between the tag-board and volume control was in good condition and could be reused, it was just a case of carefully threading the new wiring along its hollow centre.
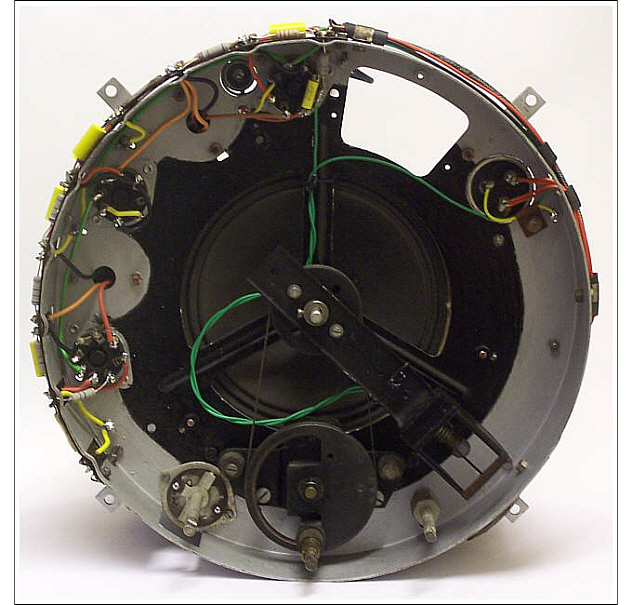
Regarding a replacement for the missing loudspeaker. I was fortunate to already have a 6.5 inch diameter, 3 ohm speaker amongst my previously mentioned spares. Although not from an A22, it originally came from a related Ekco model, it was exactly the type required.
The bronze speaker ring was more problematical. I didn't have one and a number of possible solutions were contemplated during the course of the several months this project took to complete. None proved really satisfactory, then quite unexpectedly an original bronze A22 ring was listed and purchased via eBay. The final missing piece of the jigsaw had been found!