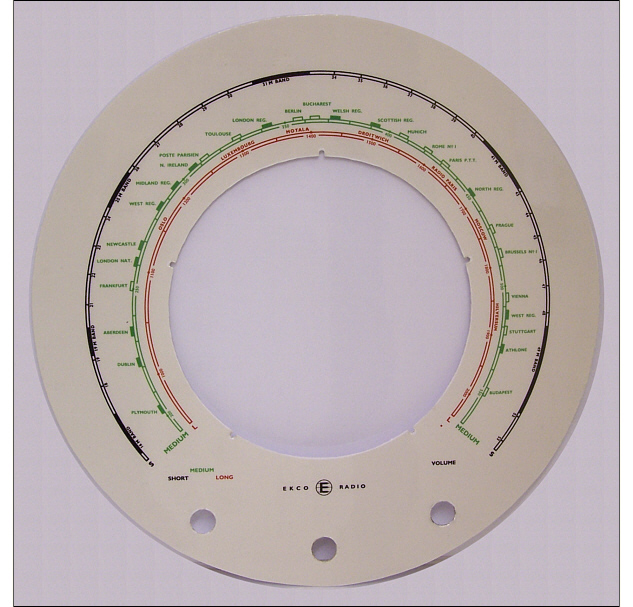
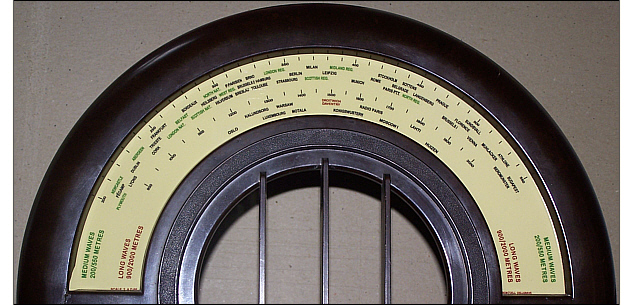
6. Printing and mounting
Having accurate artworks is one thing, how to produce actual physical dials from them is another. As mentioned previously the original dials were screen printed on to Perspex or similar. Getting a professional company to do this for me using my artworks was an option but would probably have been prohibitively expensive.
Instead, and since I own an A3 sized photo quality inkjet printer, I decided to experiment. Printing out at 600dpi resolution on to good quality silk finish photo inkjet paper gave encouraging results.
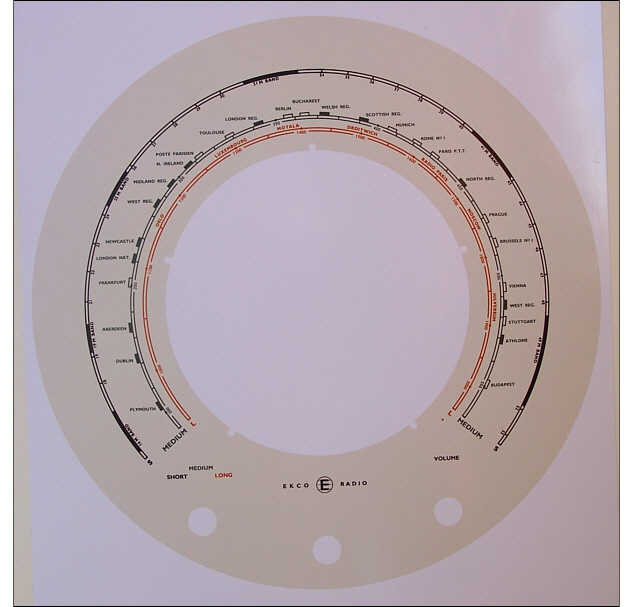
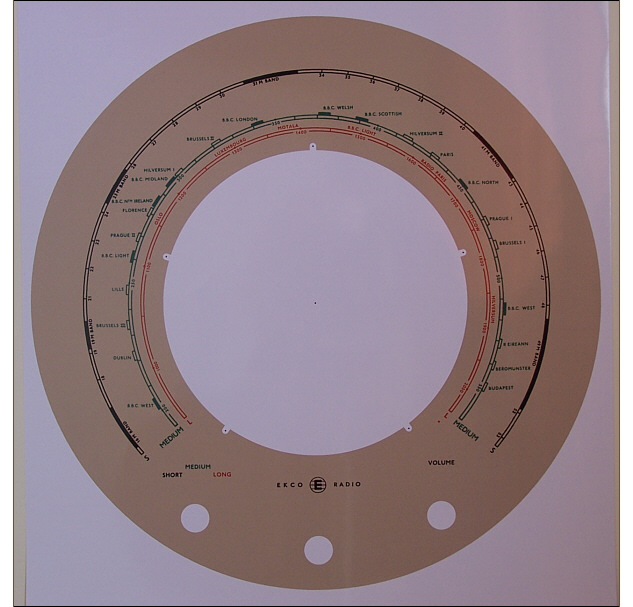
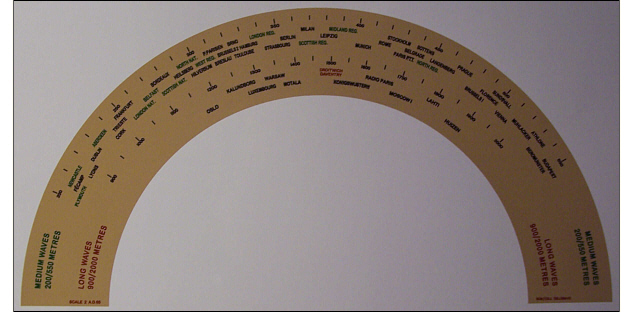
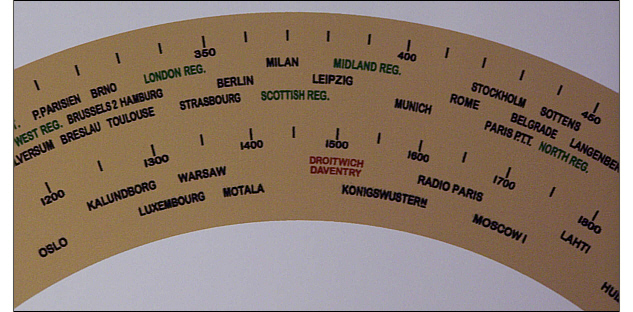
Backlighting the photo paper with a torch showed that a similar result to a backlit original dial was achievable, but how to protect and mount the printed dial so that it could be fitted and used in an actual set?
I initially considered mounting between two thin sheets of clear Perspex, which would probably have worked, but first I tried laminating the photo paper several times in an A3 hot pouch laminator. I found five or six pouches produced a thickness and rigidity comparable to an original dial, with the surface of the dial having a very similar finish to that of the original.
All that remained was to carefully cut out the dial. Initial attempts were cut by hand with craft knifes, etc which gave acceptable results, but I later obtained a large enough circle cutter which gave a much cleaner cut in a fraction of the time.